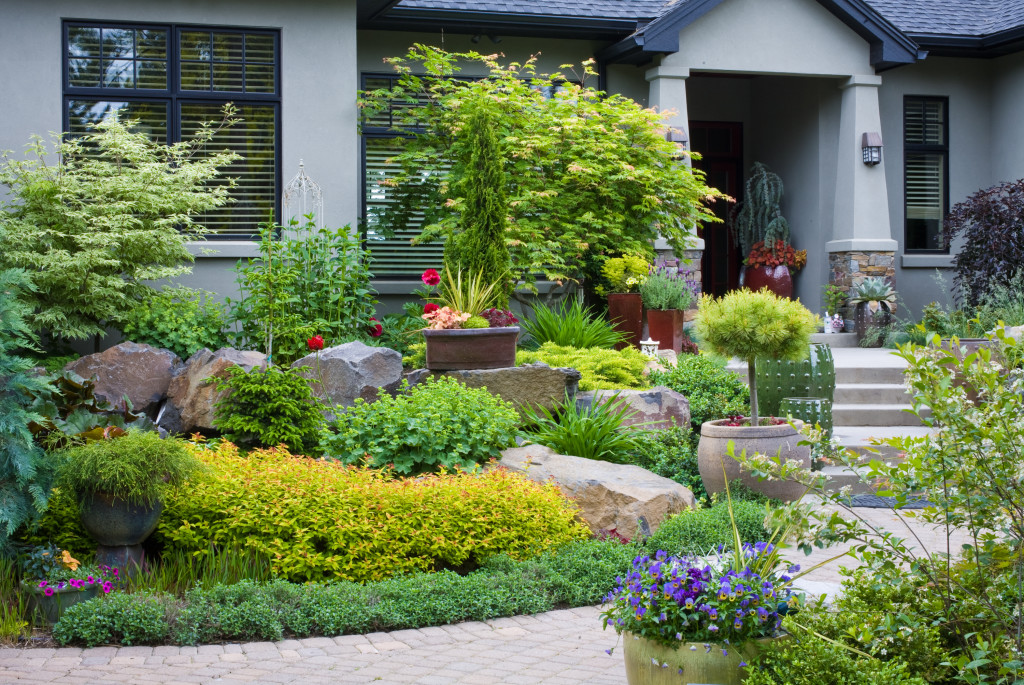
pots integrated along entry
Keys to stunning pots; Siting, filling and watering your year-round pots.
1)
Take time in placing and evaluating the location of your pots. Is the effect what you imagined? Is the color and sheen of the pot shown off to best advantage? Is there visual balance with other features of your house and landscape? Is there adequate circulation space around your pots at entries, driveways and paths?

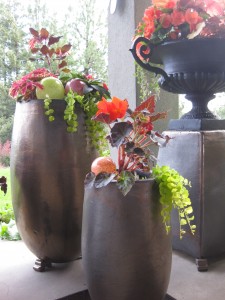
metallic patio arrangement
2)
Before you forget, make sure your container has been drilled for drainage. Larger containers and those with high centers may need more than one drainage hole. Freeze-resistant pots can withstand the expansion of freezing soil, but not the expansion of freezing water! Good drainage is also fundamental to healthy plants.
3)
Provide a solid, level base that allows for unimpeded drainage.
Use a paver, bricks or ceramic pot feet to create a platform to elevate your pots off decks and patios. Take care to ensure that your pot is solid on its base, supported equally at all points. Also, my pet peeve, make sure your pot is level! Nothing detracts from the feeling of permanence and quality like a cock-eyed container.
4)
Plumb your pot for invisible automatic irrigation by threading a length of 1/4” spaghetti tubing two or three times the height of the pot up through the drainage hole. You are now plumbed to connect to emitters and a supply line at any time.

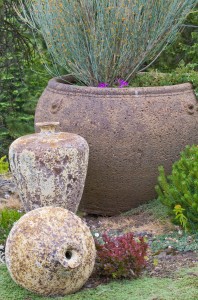
rustic unglazed trio in garden bed
5)
For pots with narrow, tapered mouths, line with several lengths of foam pipe insulation for added freeze insurance. The logic is that the spongy pipe insulation will reduce pressure on pot walls from lateral soil expansion.
6)
Place a few shards or stones over drainage holes and you are ready to fill your pot will growing medium. Pots are unique growing environments and soil-less potting mixes are best for maintaining proper air and moisture levels. I like Miracle Grow with added moisture control and a 3 month supply of time release fertilizer.
7)
Pour or scoop potting soil into pot and water thoroughly to moisten and settle to within an inch or two of the rim. Don’t pack or compress.
8)
Now for the fun part – you’re ready to plant!
